
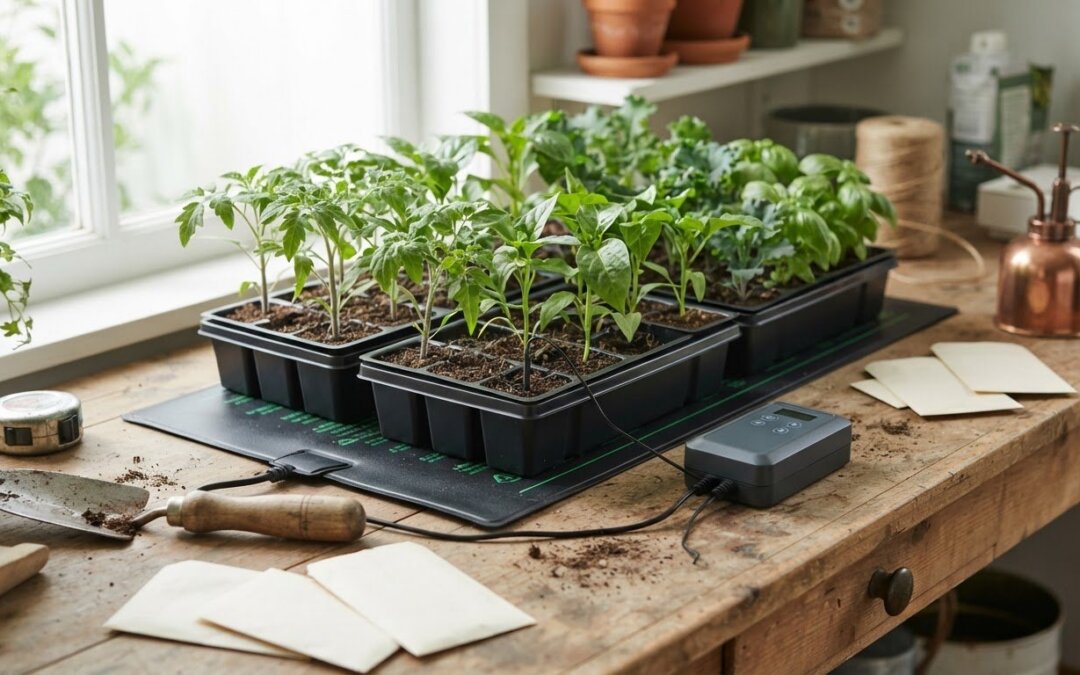
A thermostat can matter more than extra mat coverage when you want steady warmth around your seeds. The best seedling heat mat with thermostat guide starts with a practical question: does the setup fit your trays and give you useful control over the growing medium?
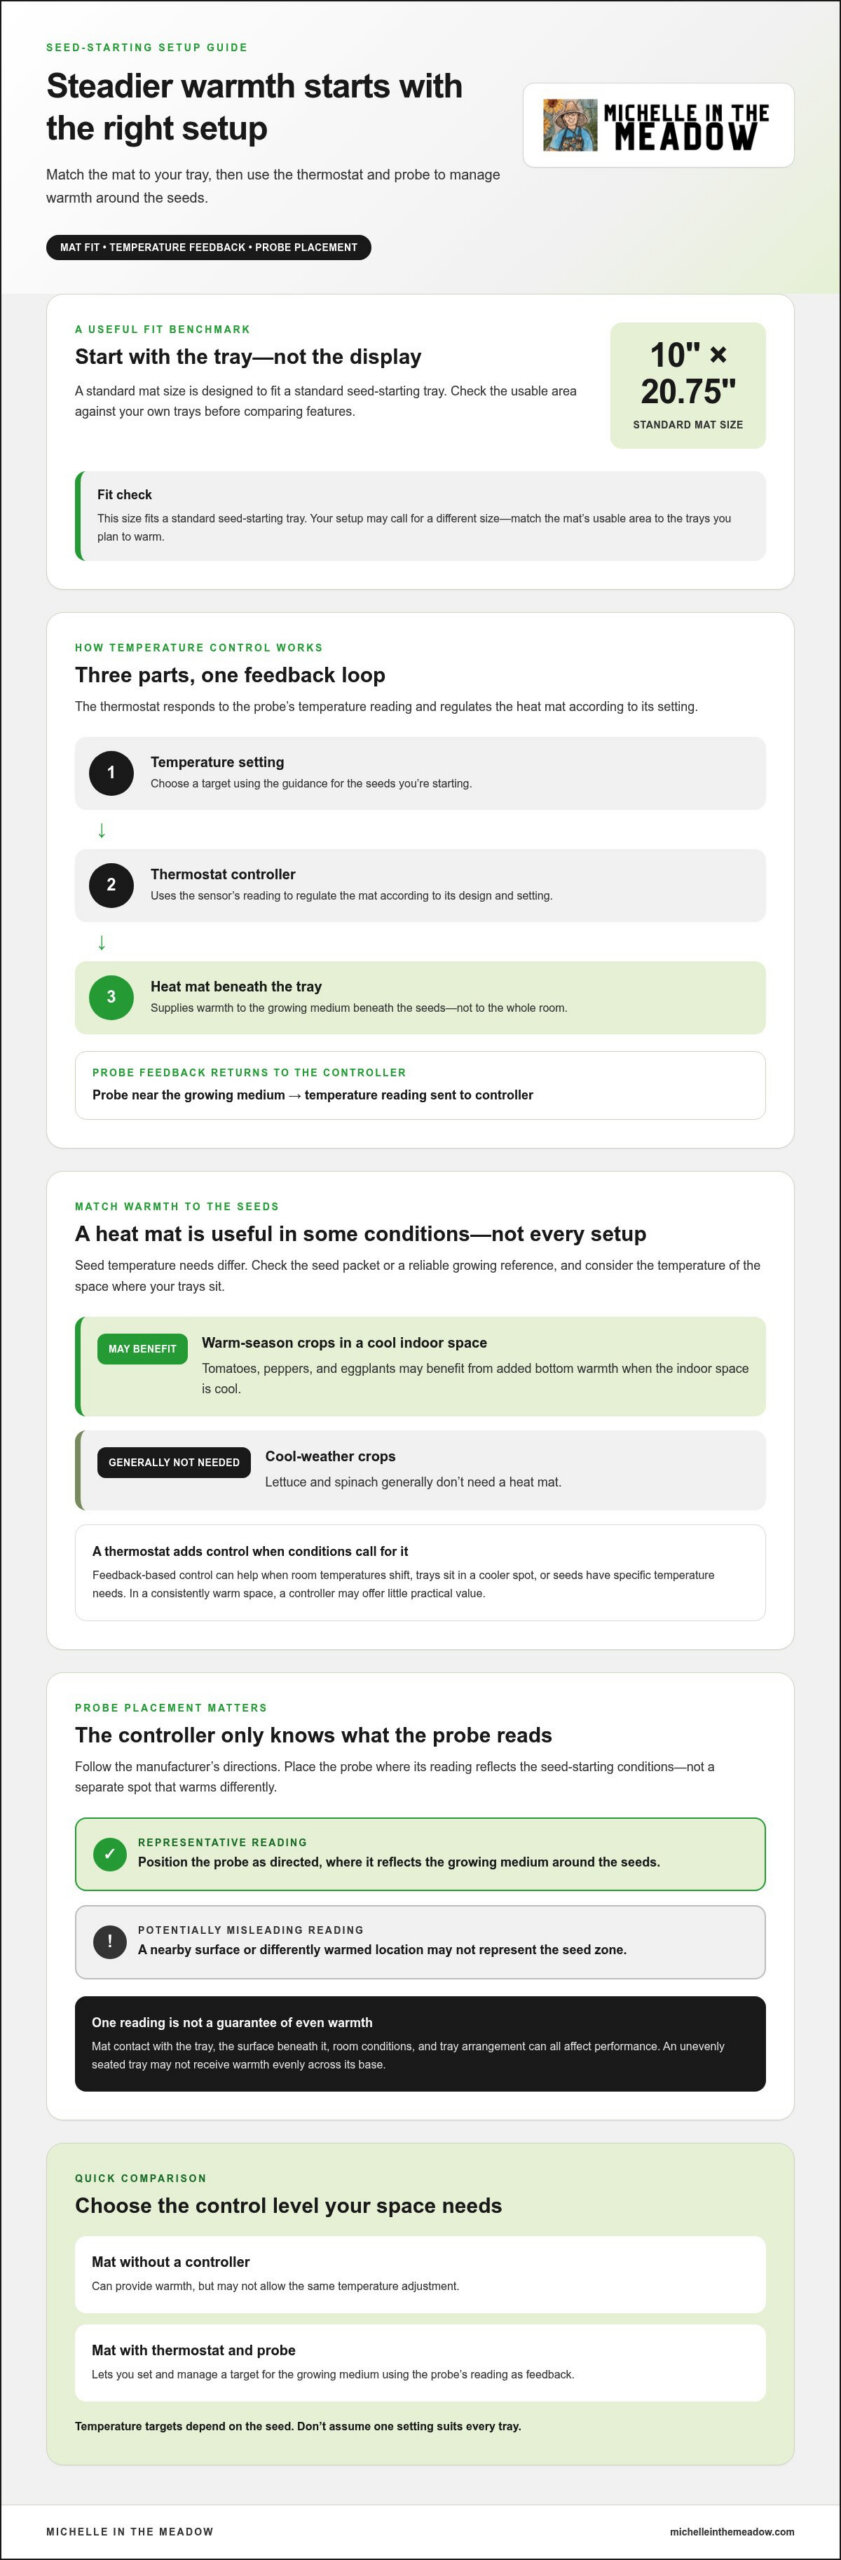
If you’re unsure whether a thermostat is worth prioritizing, or how to compare mat size, controller style, and temperature settings, start with your seed-starting space. It’s easy to focus on a digital display or a larger mat and overlook what your trays actually need. A standard 10″ x 20.75″ mat fits a standard seed-starting tray, but your setup may call for a different size.
This guide explains how to compare heat mats and thermostats, how the controller and probe work together, and what to consider when setting everything up safely. You’ll find practical guidance on tray fit and temperature control, followed by curated product recommendations. Affiliate links are clearly disclosed where they appear.
Key Takeaways
- Match the mat’s usable area to your trays so the setup warms the space you need.
- Understand how the thermostat’s sensor reading guides temperature control around seeds in the growing medium.
- Use this seedling heat mat with thermostat guide to compare mat-only, bundled, and separately paired setups.
- Follow a careful setup sequence, checking the mat, controller, probe, tray, and surface before switching it on.
- Use the decision checklist to narrow down a setup that suits your seed-starting routine before exploring recommendations.
What a Seedling Heat Mat with Thermostat Does, and When It Helps
A seedling heat mat with a thermostat warms the growing medium beneath seed trays. Temperature feedback helps regulate the warmth the mat supplies. It doesn’t heat the whole room like a space heater. The air around your trays may feel cool while the seeds’ root zone receives extra warmth. In a warm room, supplemental heat may not be needed.
Germination depends partly on the temperature of the growing medium, so steadier warmth around seeds can be useful. Warm-season crops such as tomatoes, peppers, and eggplants may benefit from added bottom warmth in a cool indoor space. A mat is optional, though. Check the temperature needs of the seeds you’re starting and consider the conditions where the trays will sit. Cool-weather crops, including lettuce and spinach, generally don’t need a heat mat.
How the mat, thermostat, and probe work together
The mat is the heat source. The thermostat is the controller, and the probe is its temperature sensor. Positioned as the manufacturer directs, the probe reads conditions near the growing medium and sends that information to the controller. The controller then regulates the mat according to its setting. For a general overview of heating pads and their use in plant propagation, see Heating pad.
Simple setup diagram:
Temperature setting → Thermostat controller → Heat mat beneath tray
Probe in or near growing medium → Temperature reading sent to controller
Probe placement matters because the controller responds to the sensor’s reading, not necessarily the room’s air temperature. Follow the product instructions for positioning it. The right spot can vary by system.
When a thermostat adds useful control
A thermostat lets you set and manage a target temperature for the growing medium, using the probe’s readings as feedback. A mat without a controller can provide warmth but may not allow the same temperature adjustment. A thermostat isn’t essential for every setup. It’s most useful when you want more control over changing conditions or when your seeds call for a specific temperature range.
Consider your growing space. If the room temperature shifts, the trays sit in a cooler spot, or you’re starting seeds with different warmth needs, feedback-based control can help you manage the root zone more deliberately. If the space stays consistently warm and your chosen seeds don’t need supplemental bottom heat, a controller may offer little practical value.
Temperature needs vary by seed. Use the packet or a reliable growing reference to choose an appropriate target rather than assuming one setting suits every tray. This seedling heat mat with thermostat guide focuses on matching control to your seeds and conditions, not simply choosing the most feature-rich setup.
How Thermostat Control Affects Seedling Root-Zone Temperature
Root-zone temperature is the warmth in the growing medium around a seed or developing root. It can differ from the room’s air temperature. A thermostat-controlled mat uses a sensor, often called a probe, to read temperature where it is placed. The controller responds to that reading, switching or regulating the mat according to its design and setting. It doesn’t directly measure every part of the tray or automatically know the room temperature.
Probe placement is part of the growing setup, not a minor detail. If the sensor sits somewhere warmer or cooler than the medium around the seeds, its reading may not represent the conditions you’re trying to manage. The thermostat can only respond to the information it receives.
Why probe placement changes the reading
Follow the thermostat manufacturer’s directions for positioning the probe. Depending on the design, it may need to sit in the growing medium or in another specified location near the tray. The aim is a reading that reflects the seed-starting conditions, not an unrelated warm surface or a spot exposed to different conditions.
Placement comparison:
- Representative: Position the probe as directed, where its reading reflects the growing medium around the seeds.
- Potentially misleading: Place it on a nearby surface or in a location that warms differently from the tray. The controller may then respond to a reading that doesn’t represent the seed zone.
The mat’s performance can also vary with its contact with the tray, the surface beneath the setup, room conditions, and the arrangement of trays and containers. For example, a tray that sits unevenly on the mat may not receive warmth evenly across its base. Arrange the setup as the manufacturer instructs, and don’t treat one probe reading as a guarantee that every cell is at exactly the same temperature.
Temperature targets depend on the seed
There isn’t one ideal setting for every crop. Germination guidance varies by species, so check the seed packet or the seed supplier’s reference for the recommended temperature range. Use that crop-specific guidance to choose a thermostat setting, then position the probe as directed so its reading is relevant to the growing medium.
Room conditions matter, too. A cool room may affect how much warmth the mat needs to supply, while a warmer location may change how quickly the sensor reaches its setting. If you’re starting different kinds of seeds at once, their preferred temperatures may not match. Where practical, separate trays by temperature needs instead of assuming one target suits every seed.
Use the sensor reading as feedback, not as a substitute for reliable growing guidance or the controller instructions. This seedling heat mat with thermostat guide explains that relationship before you compare equipment. For more practical growing ideas, browse Michelle In The Meadow’s gardening resources.
Compare Seedling Heat Mat and Thermostat Features Before Buying
Start with your trays, not the feature list. Measure the footprint of the tray or trays you’ll use, then compare those dimensions with the mat’s listed usable area. A standard 10″ x 20.75″ mat is sized for a standard seed-starting tray, but tray shapes and layouts vary. Leave room for the controller and probe, too, and consider where the complete setup will sit.
Choose mat size and shape for your trays
Consider how many trays you want to warm at once and whether they’ll sit side by side or in separate spots. A larger mat isn’t automatically better. Unused area takes up space without necessarily helping your seeds. Compare the listed dimensions and product-specific fit guidance, then make sure the tray base can sit on the mat as intended.
| Setup type | Mat area and tray fit | Controller and probe | Adjustment approach |
|---|---|---|---|
| Mat only | Compare the mat’s dimensions with your tray footprint; the listing determines the available area. | No separate controller or probe in this configuration. | Use the mat according to its instructions; don’t assume you can select a target temperature. |
| Mat plus controller | Check the included mat’s dimensions and how many of your trays fit. | Review display readability, probe style, and the instructions for sensor placement. | Use the controller’s stated adjustment method and temperature range. |
| Separately paired system | Choose a mat that suits the tray layout and available growing space. | Confirm the controller and probe are compatible with that specific mat. | Check the controller’s supported settings and adjustment controls before pairing. |
Compare controller designs and useful details
A digital display can make a setting easier to read, while buttons or a dial affect how you adjust it. Neither style is automatically better. Prioritize clear readings and comfortable everyday use over a flashy interface. Probe construction and placement instructions also vary by model, so compare the manufacturer’s description instead of assuming every sensor works the same way.
Dimensions, temperature range, included components, and compatibility are model-specific. Review these details in the current product listing and manufacturer’s instructions. For a separately paired system, confirm the controller is rated for the mat you’ve selected. Safety or certification statements are product-specific claims, not assumptions that apply to every mat.
This seedling heat mat with thermostat guide helps make the trade-offs easier to see. Once you’ve identified your tray size, preferred controls, and need for temperature adjustment, explore curated gardening product recommendations as another comparison point.
Set Up and Use a Thermostatically Controlled Seedling Heat Mat
A careful setup starts before you plug anything in. Read the current instructions for both the mat and controller because placement, operating limits, and sensor directions can differ by model. Then use the seed’s germination guidance to choose a suitable target. No single setting fits every crop or growing space.
A simple setup sequence for a seed tray
Work through the setup in order, keeping the manufacturer’s directions nearby. Check that the mat, controller, and probe are intact and that the tray and surface suit the instructions. If anything looks damaged, don’t try to diagnose or repair it yourself. Stop and follow the manufacturer’s guidance.
- Choose the spot. Set the mat on a flat, stable, dry surface that’s suitable according to its instructions. Keep the arrangement clear of conditions the manufacturer warns against.
- Check the components. Before powering the system, inspect the mat, controller, and probe for visible damage. Confirm that a separate controller is compatible with the mat if they weren’t sold together.
- Position the tray. Place the seed tray on the mat as directed. Check that it sits evenly and its footprint fits the usable heating area.
- Place the probe. Position the sensor where the controller instructions specify. Don’t tuck it somewhere convenient if that spot won’t give the intended reading.
- Set the target. Use reliable, crop-specific germination guidance to select a temperature within the controller’s supported range. Follow the control instructions to enter or adjust that setting.
- Power on and observe. Watch the display and allow the setup to respond. Compare the reading with your chosen target, and make adjustments only as the instructions allow.
After seeds germinate, reassess whether bottom heat is still needed. Heat mats are generally turned off after germination to avoid keeping seedlings warmer than needed. Follow the seed and equipment guidance for your setup.
Spot common setup problems without guessing
If the display shows a surprising reading, start with basic checks: confirm the probe is positioned as instructed, the tray is sitting as intended, and the controller is set to the desired target. Room temperature and contact between the mat and tray can affect the sensor’s reading, so it may not match the air around your growing area.
Don’t assume an unexpected number means the mat or controller has failed. Check the product instructions for normal operation and troubleshooting steps. If you notice visible damage or the equipment behaves in a way the manufacturer identifies as unsafe, stop using it and follow the manufacturer’s directions. Don’t open or attempt to repair electrical components.
Use this seedling heat mat with thermostat guide as a starting point, but follow the specific product instructions for electrical limits and operating details. For practical help comparing seed-starting gear, explore our gardening recommendations.
Choose the Right Seedling Heat Mat Setup for Your Growing Routine
The right setup fits your seed-starting routine. It doesn’t have to be the one with the most controls or the largest mat. Start with how many trays you’ll use, the space they occupy, the temperature guidance for your seeds, and how much adjustment you want. These details can narrow your options before you compare individual products.
A quick decision path for different seed-starting setups
- Starting one small tray? Prioritize a mat that fits its footprint, instructions you can follow easily, and temperature guidance suited to the seeds you’re sowing. If your growing space is steady and the seeds don’t need extra temperature adjustment, a basic setup may be enough.
- Starting several trays? Compare usable mat coverage with your available space. Decide whether you’ll manage the trays together or need different conditions for different seed types. More coverage is useful only if it fits both your space and your trays.
- Want adjustable control? Compare how easy the thermostat is to read and set, and how clearly its instructions explain probe placement. If you’re pairing a controller and mat separately, confirm their compatibility in the current product documentation.
Before opening product recommendations, run through this checklist:
- Have you measured the tray footprint and the space available for the setup?
- Have you checked the seeds’ recommended germination temperature?
- Do you want a mat alone, a bundled mat and controller, or a separately paired system?
- Can you follow the sensor placement and operating instructions for the setup?
How to assess product recommendations
Product details can vary by model and may change. Compare dimensions, operating directions, controller features, and included components using current listings and manufacturer instructions. If a product makes a certification claim, check it against current manufacturer documentation. For separately paired equipment, look for explicit compatibility information rather than assuming two components will work together.
Focus on the feature a recommendation illustrates, such as mat dimensions for tray fit or a controller’s adjustment method for hands-on temperature control. Don’t treat one product’s details as typical of every mat or thermostat. Claims about durability or performance also need support from current product information. Don’t infer them from appearance or a feature label alone.
Some links to recommended products may be affiliate links, which means the site may earn a commission if you make a purchase through them, at no additional cost to you. Consider recommendations alongside the details that matter for your seeds, trays, and growing space.
Use this seedling heat mat with thermostat guide as a framework, then choose only the coverage and control your routine calls for. For more approachable growing guidance and curated gardening recommendations, explore Michelle In The Meadow.
Make Your Next Seed-Starting Season More Intentional
Before choosing equipment, jot down what you plan to grow and where your trays will sit. This quick planning step can turn a confusing comparison into a clear decision about what your setup needs. Keep the seed packet or a trusted germination reference nearby so your choices follow the plants, not a one-size-fits-all setting.
This seedling heat mat with thermostat guide is one step toward a seed-starting routine that suits your space and grows with your experience. You don’t need to perfect every detail at once. Start with a manageable setup, observe how it behaves, and adjust your approach as you learn.
For more ideas, explore approachable gardening tutorials from Michelle In The Meadow through blog and video content, alongside curated product recommendations connected to tools discussed in the educational content. Explore gardening guides and curated recommendations and take your next seed-starting step with more confidence.
Frequently Asked Questions
Can a seedling heat mat be used for plant cuttings?
Some gardeners use heat mats when rooting cuttings, but whether that’s suitable depends on the plant, rooting method, and temperature guidance. A cutting in water may need a different arrangement from one rooted in propagation mix. Follow plant-specific recommendations and the mat maker’s instructions. This guide’s buying criteria focus on seed-starting setups, so cuttings may call for a different temperature target or equipment arrangement.
How can I check the temperature of seed-starting mix?
Use a suitable thermometer to measure the mix near the seeds, following the instrument’s directions. A thermostat probe reports conditions only at its own location, so it may not represent the entire tray. Room-air temperature differs from the warmth in the growing medium. Check the recommended germination range for the seeds you’re sowing rather than relying on one target for every crop.
Do seedling heat mats need a humidity dome?
No. A humidity dome is a separate aid, not an automatic requirement for using a heat mat. Whether it suits your setup depends on the seeds, growing method, and moisture guidance. If you use a cover, monitor condensation and airflow, and follow the seed supplier’s advice. A covered tray isn’t always better, so pay attention to moisture instead of assuming a dome will improve results.
Are seedling heat mats waterproof?
Don’t assume a heat mat is waterproof just because it’s made for gardening. Water resistance and use limits vary by product, so check the specific manufacturer’s rating, directions, and warnings before placing it near watering or possible spills. A product rating doesn’t automatically mean the mat or controller can be submerged. Keep water away from electrical components unless the manufacturer’s instructions explicitly describe how to use them safely.
Can a seedling heat mat harm seeds or seedlings?
Unsuitable temperatures or poor moisture management can create problems, though the effect depends on the seed and growing conditions. Use crop-specific germination guidance, check the growing medium, and follow the thermostat instructions rather than relying on a universal setting. A thermostat can help manage temperature, but it can’t prevent every seed-starting issue. This seedling heat mat with thermostat guide is a starting point, not a substitute for observing your plants.
How much electricity does a seedling heat mat use?
Energy use depends on the mat’s rated wattage, how long it runs, and how often the thermostat cycles it on. For a simple maximum-use estimate, multiply the wattage by operating hours, then divide by 1,000 to estimate kilowatt-hours. Actual use may be lower if the controller switches the mat off at times. Check the product label, then multiply estimated kilowatt-hours by your electricity provider’s current rate to estimate cost.
