
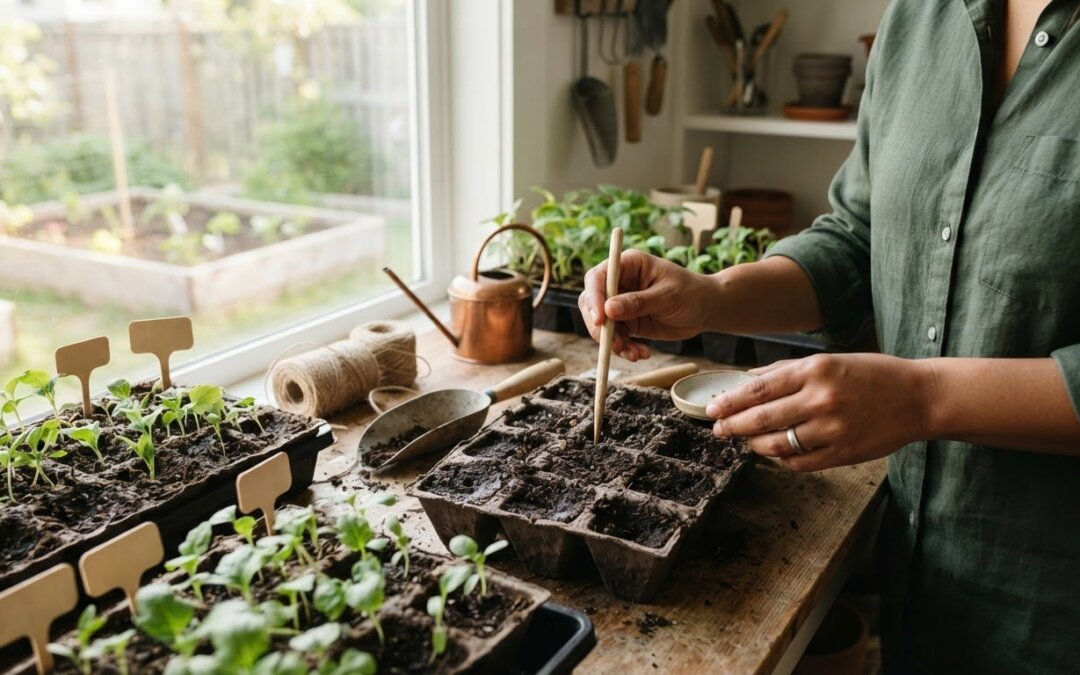
What if you didn’t need expensive nursery equipment just to coax a tiny seed into a bountiful harvest? Mastering seed starting for beginners comes down to simple, consistent environmental basics rather than high-tech gadgets. If you’ve ever watched eager green sprouts stretch into pale, spindly stems on a windowsill, you know how discouraging those early setbacks feel.
It’s completely natural to feel confused by potting soil labels, artificial lighting charts, or the fear of losing tender shoots to damping off before the last spring frost arrives. You don’t have to guess your way through the season. You’ll learn the exact steps to start healthy seeds indoors and transplant vigorous seedlings into your garden beds with genuine confidence. From setting up sterile growing media to hardening off resilient young plants, here is your straightforward roadmap to growing homegrown food and flowers from scratch.
Key Takeaways
- Calculate your indoor planting calendar backwards from your local estimated last spring frost date to ensure seedlings reach peak vigor right when outdoor ground warms up.
- Discover the low-waste, budget-friendly equipment that makes seed starting for beginners simple without investing in complicated commercial nursery setups.
- Master basic sowing depths and sterile, soilless media choices to boost germination rates while protecting fragile roots from soil-borne pathogens.
- Prevent weak, leggy stems and fungal damping off by pairing full-spectrum supplemental lighting with gentle bottom watering and steady airflow.
- Acclimate indoor seedlings through a gradual hardening-off routine before transplanting them into prepared raised beds or garden rows.
The Fundamentals: Why Start Seeds Indoors and When to Begin
Walking through a garden center in spring limits your choices to whatever six-packs sit on the benches. Starting your own seeds indoors changes that entirely. You unlock access to hundreds of heirloom tomatoes, unusual herbs, and vibrant cut flowers that commercial nurseries never carry. Beyond variety, starting indoors gives slow-growing crops the head start they need in shorter temperate growing seasons.
Tender young plants face an uphill battle outdoors against fluctuating spring temperatures, hungry slugs, and heavy downpours. By raising them inside under controlled conditions, you help them build sturdy root crowns and resilient foliage before facing backyard elements. A simple packet serves as your roadmap; it carries essential details about planting depth, germination days, and ideal soil temperatures right on the back.
Indoor Seed Starting vs. Direct Sowing Outdoors
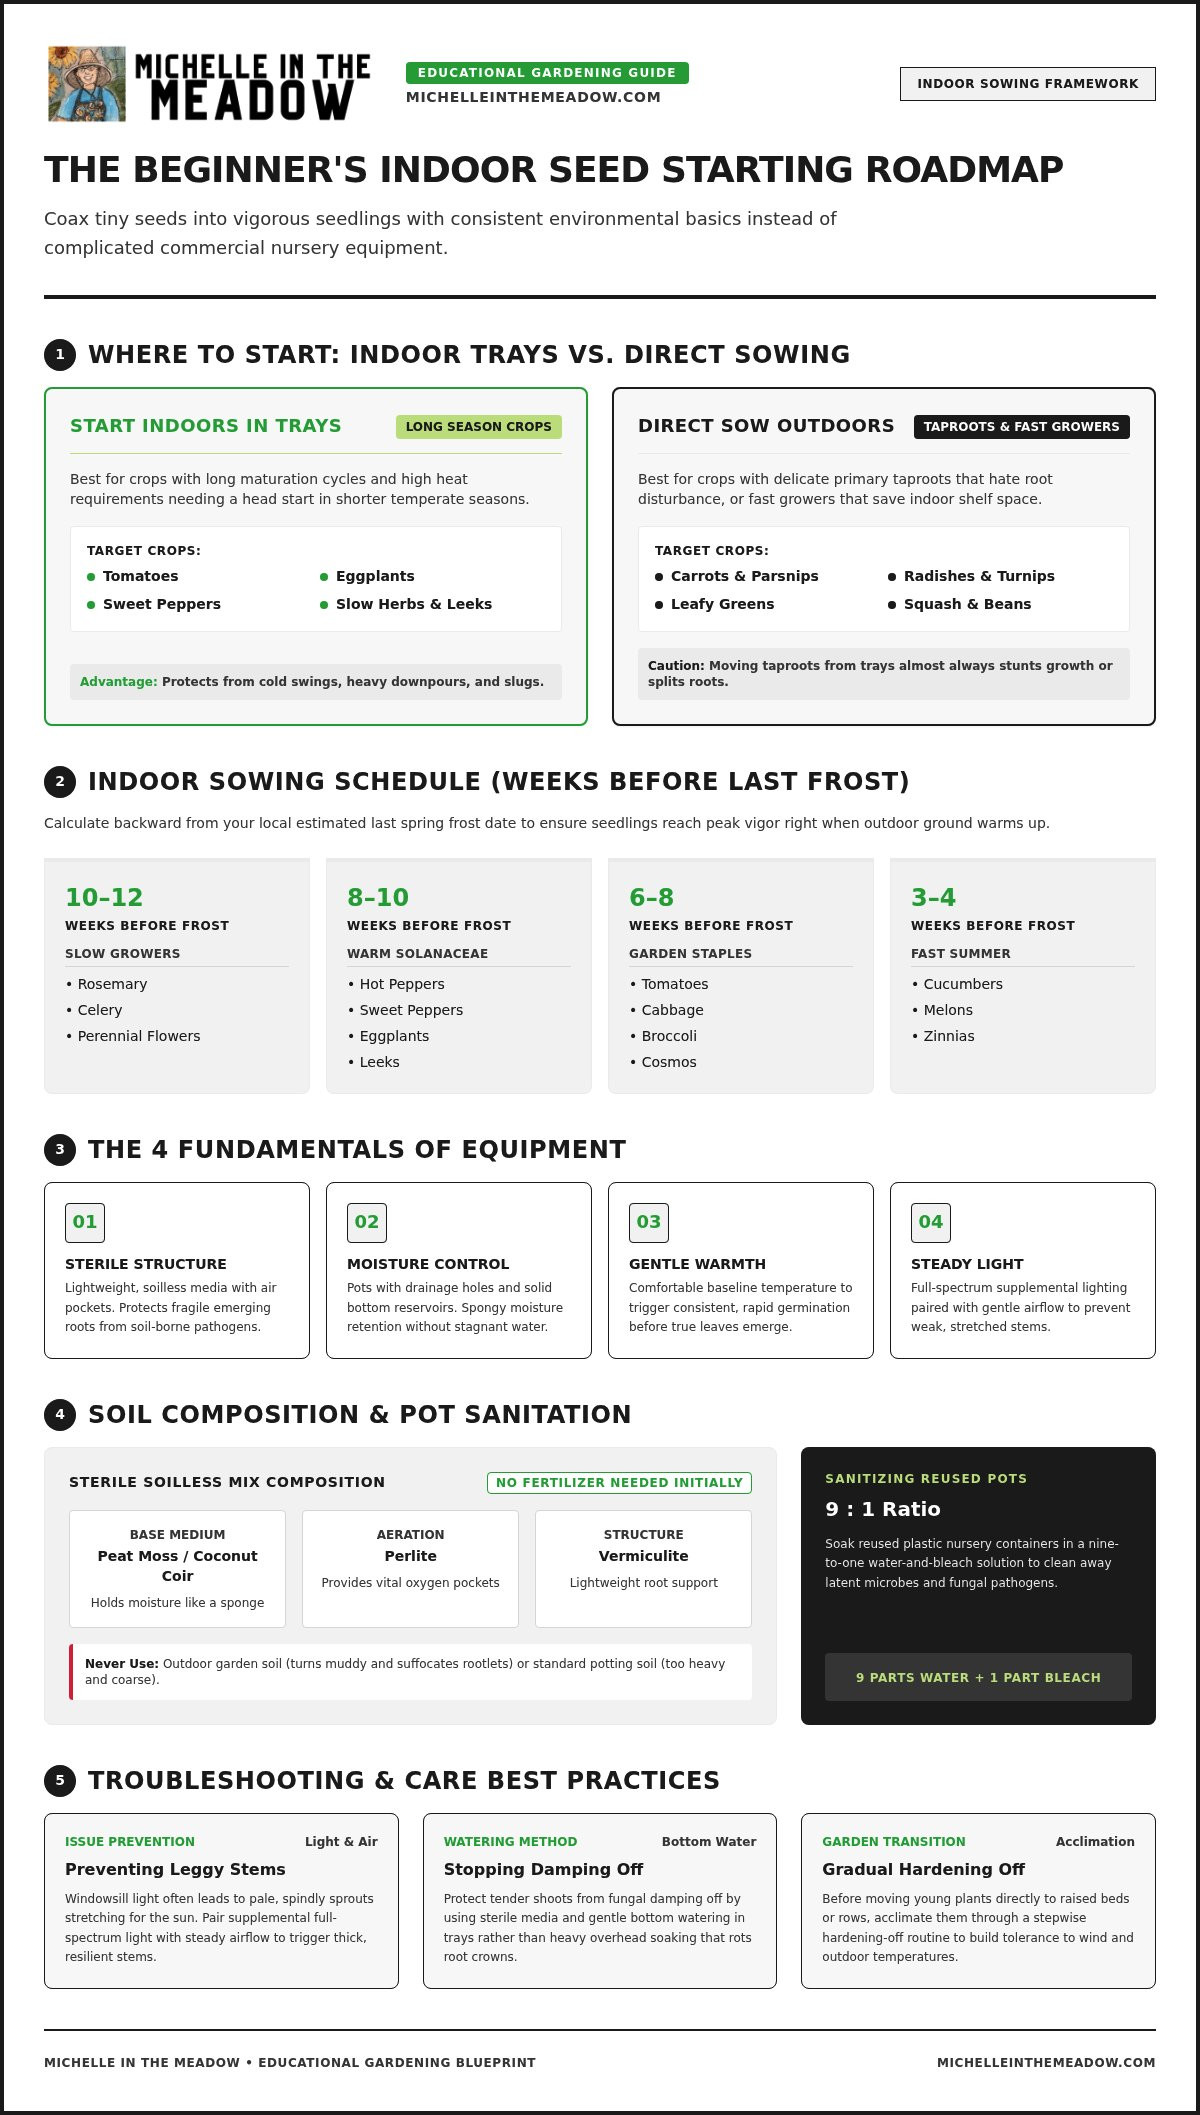
Not every crop belongs in a starter tray. Vegetables with long maturation cycles and high heat requirements thrive best when started indoors. Nightshades like tomatoes, eggplants, and sweet peppers need weeks of cozy conditions to mature before the summer heat arrives. Setting them up in trays gives you a critical jump on the season.
Root crops tell a different story. Vegetables with delicate primary taproots, like carrots, parsnips, radishes, and turnips, hate root disturbance. Moving them from a tray to a garden bed almost always stunts growth or causes roots to split. For leafy greens, squash, and beans, direct sowing into warm garden soil is often just as fast and saves indoor shelf space.
Calculating Your Sowing Schedule Using Frost Dates
Timing sits at the heart of successful seed starting for beginners. Starting too early leads to overgrown, root-bound plants waiting on cold weather. Starting too late leaves you harvesting green tomatoes in autumn. Instead of guessing, anchor your indoor planting dates directly to your local estimated last spring frost date.
You can locate your historical frost dates through national weather service records and university extension databases. Once you have that anchor date, work backward in weekly blocks:
- 10 to 12 weeks before frost: Slow herbs like rosemary, celery, and perennial flowers.
- 8 to 10 weeks before frost: Hot and sweet peppers, eggplants, and leeks.
- 6 to 8 weeks before frost: Tomatoes, brassicas (cabbage, broccoli), and cosmos.
- 3 to 4 weeks before frost: Fast summer growers like cucumbers, melons, and zinnias.
Keeping a sterile growing environment early on also keeps seedlings safe from fungal damping off, ensuring every scheduled round reaches garden soil in top health.
Essential Seed Starting Supplies Every Beginner Needs
Walking into the equipment aisle can feel paralyzing. Commercial grow racks, computerized heat panels, and high-intensity lights make the hobby look like an industrial laboratory. The truth is much simpler: seed starting for beginners requires only a few practical, sterile items that protect emerging roots and let you work within your budget.
Healthy seedlings need four fundamental elements from your gear: sterile structure, moisture management, gentle warmth, and steady light. If you want a quick starting point, explore our curated gardening product recommendations to find reliable essentials without overcomplicating your setup.
Seed Starting Mix vs. Standard Potting Soil
Never dig soil from your outdoor garden beds for indoor trays. Garden soil turns dense and muddy in small cell inserts, suffocating delicate root hairs and carrying resting fungal spores. Standard potting soil is also too coarse and heavy for tiny rootlets to push through easily.
Instead, choose a sterile, soilless seed-starting medium. These lightweight blends usually combine peat moss or renewable coconut coir with perlite and vermiculite. They hold moisture like a sponge while leaving plenty of air pockets. A germinating seed contains all the stored carbohydrates it needs to sprout; you do not need any added fertilizer until the plant produces its first true leaves.
Choosing Starter Trays, Cell Pots, and Upcycled Containers
Standard plastic 72-cell trays paired with a solid bottom water reservoir provide a durable, organized setup. If you prefer low-waste solutions, yogurt cups, egg cartons, and folded newspaper pots work remarkably well. Just make sure to poke drainage holes in the bottom of repurposed plastic tubs. Stagnant water quickly rots tender root crowns.
If you reuse plastic nursery pots from previous seasons, wash them thoroughly first. Soaking containers in a nine-to-one water-and-bleach solution cleans away latent microbes that compromise tender stems.
Lighting and Warmth: Grow Lights and Heat Mats Demystified
Relying solely on a sunny windowsill almost always results in tall, crooked sprouts that collapse under their own weight. Double-pane window glass filters out vital light intensity. For compact, stocky foliage, hang affordable LED shop lights or T5 fixtures two to four inches directly above your plant canopy on an automatic 14 to 16-hour daily timer, following established indoor seed starting best practices.
Waterproof seedling heat mats sit underneath your trays to keep root zones warm, accelerating germination for heat-loving peppers and tomatoes. Once your green shoots break the surface, unplug the mat immediately to keep stems short and stout.
Step-by-Step: How to Plant and Germinate Your First Seeds
Turning dry speckles into vibrant green life feels like pure kitchen magic. Yet successful germination never relies on luck; it follows a predictable biological sequence. In seed starting for beginners, getting the small physical details right at the start makes all the difference between robust sprouts and rotting seeds trapped beneath muddy compost.
Every seed carries a tiny embryonic plant and a limited energy reserve. Planting too deep drains those carbohydrates before the stem reaches open air. Letting the tray dry out halts cell division permanently. A calm, step-by-step planting routine protects that delicate spark from day one.
Pre-Moistening Soil and Sowing at the Right Depth
Always hydrate your growing medium in a large tub or bucket before filling your cells. Dry peat and coco coir repel water when dry; pouring moisture over dry cells will simply float your seeds away. Add warm water gradually and stir until the mix feels like a damp, wrung-out kitchen sponge. It should hold its shape when squeezed without dripping freely.
Press the pre-moistened medium gently into your containers to eliminate deep air pockets, but avoid packing it down hard. Sow two seeds per cell using a straightforward depth benchmark: bury seeds roughly two to three times their thickness. Dust fine varieties with vermiculite, and press tiny seeds (like snapdragons or lettuce) directly onto the surface, since they require light to germinate.
Managing Humidity, Warmth, and Labeling
Cover your seeded flat with a clear plastic dome or loose plastic wrap to lock in consistent ambient humidity. Resting the flat on a seedling heat mat keeps the root zone between 70°F and 85°F, satisfying optimal germination and seedling conditions for heat-loving nightshades and summer crops.
Label every single row immediately with waterproof markers. Write down both the exact plant variety and the sowing date. Emerging green cotyledons look virtually identical across plant families; trying to remember which row holds sweet bell peppers and which holds jalapeños by memory alone never works.
The Critical Emergence Phase: Uncovering and Lighting
Check your trays twice daily for early movement. The moment you spot the first green hook breaking the surface, your environmental strategy must pivot immediately:
- Strip off the humidity dome: Trapped condensation and still air breed mold within hours once shoots emerge.
- Switch off bottom heat: Turn off or remove heating mats for sprouted varieties so plants do not stretch upward too quickly.
- Engage grow lights: Lower full-spectrum lights directly over the tray, maintaining a tight distance of two to three inches above the new leaves.
This quick shift from warm, steamy darkness to bright, breezy illumination keeps your young seedlings compact and sturdy.
Caring for Young Sprouts: Preventing Leggy Stems and Damping Off
The fragile window between initial emergence and garden transplanting tests every home gardener. Most seedling casualties happen right here, driven by two common culprits: weak illumination and saturated surface soil. Managing these variables with gentle environmental stresses transforms fragile shoots into stocky, weather-hardy plants. In seed starting for beginners, attentive daily observation is your best defense against sudden losses.
Seedlings do not need coddling; they need the right balance of physical stimulation and moisture restraint. Providing strong overhead light, moving air, and targeted hydration encourages deep root systems and sturdy stems that will not snap in the first spring breeze.
Fixing Leggy Seedlings with Light Adjustments and Airflow
Seedlings turn pale, tall, and spindly when they stretch toward weak or distant light sources. Fix this immediately by dropping your grow lights until they hover two to three inches above the foliage, keeping them illuminated for 14 to 16 hours daily. Set up a small oscillating fan on its lowest speed to blow across the flats. Gentle air movement stimulates the plants to produce lignin, a natural structural polymer that thickens cell walls and produces compact, durable stems.
Mastering Bottom Watering to Stop Fungal Damping Off
Damping off strikes without warning. A seedling looks vibrant in the morning, pinches thin at the soil line by afternoon, and collapses permanently. To protect young root crowns, stop top-watering. Instead, pour water directly into the solid bottom tray, allowing the soilless medium to wick moisture upward through drainage holes for 20 to 30 minutes before dumping the excess. Letting the surface dry out slightly between waterings deprives fungal pathogens of the wet, stagnant conditions they need to attack stems.
Thinning Seedlings and Introducing First Organic Nutrients
If you sowed multiple seeds per cell, choose the strongest specimen and snip the weaker competitors at the soil line with clean scissors. Never yank extra sprouts out by hand, as pulling disrupts the delicate root ball of the surviving plant. Once the first jagged “true leaves” unfold above the smooth baby cotyledons, your seedlings require active feeding. Apply a gentle organic kelp or fish hydrolysate mixed at quarter-strength every two weeks to support root development.
Building strong indoor plants is only half the journey toward a thriving harvest. For comprehensive walkthroughs on planning your entire backyard season, explore our complete library of gardening educational content.
Hardening Off and Moving Seedlings into the Garden
Indoor living spoils young plants. Sheltered behind windows and under gentle artificial light, seedlings develop thin, tender foliage that has never faced fluctuating humidity, gusty breezes, or intense ultraviolet radiation. Rushing soft green shoots straight from a grow shelf into direct midday sun bleaches leaf tissue white within hours. Hardening off provides the crucial bridge between protected indoor shelves and rugged outdoor elements, securing everything you built throughout your seed starting for beginners journey.
This conditioning process prompts plants to deposit thicker waxy cuticles on their leaves and firm up their stems. Taking seven to ten patient days to acclimate your flats protects weeks of patient indoor care.
The 7-Day Gradual Hardening Off Protocol
Begin when outdoor daytime temperatures reach seasonal norms and nighttime frost danger has passed for warm crops. Follow this steady progression to avoid shock:
- Days 1 to 2: Set trays outdoors in full, sheltered shade protected from strong winds for two hours, then bring them back inside.
- Days 3 to 4: Move trays into dappled morning sunlight for three to four hours before returning them to shelter.
- Days 5 to 6: Expose seedlings to five to six hours of midday sun while letting them feel moderate breezes.
- Day 7: Leave hardy plants outside overnight if temperatures stay comfortably above minimum threshold limits.
During this week, hold back on all fertilizers and allow the growing medium to dry down slightly between waterings to encourage sturdy cellular growth.
Transplanting Seedlings into Raised Beds or Garden Soil
Aim to transplant on a calm, overcast afternoon or early evening. Cloudy conditions prevent direct sun from drying fragile roots before they can draw moisture from surrounding soil. Dig holes slightly wider than the root ball, settle the seedling gently at its original depth, and press the surrounding soil down to remove air voids.
Vining nightshades like tomatoes are a happy exception. You can pinch off lower sets of leaves and bury long tomato stems deeply into the planting trench, encouraging the plant to sprout adventitious roots along the buried stem for a massive underground anchoring network.
Preparing Your Beds and Soil Volume for Planting
Successful planting requires deep, aerated earth with abundant organic matter. Before digging planting holes, ensure your garden boxes hold enough nutrient-dense growing mix so root crowns never hit dense subsoil. You can calculate your raised bed soil needs to determine exact bulk volumes before your seedling flats leave the patio.
Once planted, soak the entire bed thoroughly to settle loose earth around root balls. Finish by spreading a two-inch layer of clean straw, shredded leaves, or wood mulch around each plant, leaving a little breathing room around the main stem to lock in soil moisture and buffer delicate roots from summer heat.
Ready to Grow Your Sturdiest Garden Yet?
Starting your own food and flowers doesn’t require expensive gadgets or commercial nursery racks. Success in seed starting for beginners comes down to a few steady, attentive habits. When you align your planting calendar with your local frost dates, keep full-spectrum lights close to your sprouts, and water from the bottom, you give every seed its best chance to flourish. A patient week of hardening off ensures those indoor shoots step into the breeze with total confidence.
Before your sturdy transplants leave the patio, make sure their garden home is ready. Practical planning creates resilient, productive organic beds where young root systems can spread freely. Take the guesswork out of your garden prep and plan your raised beds with our free soil calculator, exploring earth-friendly gardening tutorials designed for everyday backyard spaces. Grab your favorite seed packets, moisten your mix, and enjoy the quiet wonder of watching your garden take root from scratch.
Frequently Asked Questions
How much light do vegetable seedlings need indoors each day?
Vegetable seedlings need 14 to 16 hours of bright, direct supplemental light every day. Natural daylight through a window isn’t intense or consistent enough for steady growth. Pair an affordable full-spectrum LED or fluorescent shop fixture with an automatic plug-in timer. Seedlings also require at least eight hours of darkness every night for cellular respiration. Keep your light source suspended two to three inches above the foliage canopy.
Can I start seeds indoors using regular potting soil or garden dirt?
No, you shouldn’t use regular potting soil or outdoor garden dirt for indoor seed flats. Backyard soil compacts tightly inside small container cells, choking out oxygen and harboring wild fungal spores or pests. Standard potting soil is often too coarse and contains heavy fertilizer salts that can burn tender young root systems. Always select a lightweight, sterile, soilless mix made from coconut coir or peat and perlite.
What is the easiest vegetable for a beginner to start from seed?
Bush beans, radishes, and leafy salad greens are by far the simplest crops to direct sow into garden beds. For indoor trays, cherry tomatoes offer the highest success rate. Tomato seeds sprout quickly, handle room temperature changes gracefully, and bounce back easily if slightly leggy. Practicing seed starting for beginners with vigorous tomato varieties builds your confidence before tackling slower, finicky crops like peppers or onions.
Why are my indoor seedlings tall, thin, and falling over?
Your seedlings are stretching and falling over because they aren’t receiving enough light. When indoor light is too dim or hung too high above trays, stems elongate rapidly toward the fixture in a desperate search for energy. This rapid stretching weakens the cell walls, causing stems to flop over. Lower your grow light closer to the foliage and set up a small oscillating fan to build stem strength.
What is damping off disease, and how do I save affected seedlings?
Damping off is a lethal fungal disease caused by moisture-loving pathogens that rot tender stems right at the soil line. Unfortunately, an infected seedling cannot be saved once it collapses. You must discard affected shoots and their surrounding soil immediately. Protect your remaining seedlings by switching entirely to bottom watering, running a low-speed fan for air circulation, and letting the top surface of the mix dry out between waterings.
How early should I start seeds before my last spring frost date?
Most indoor vegetables should be sown indoors between four and eight weeks before your estimated last spring frost date. Always check your local frost calendar first, then count backward in weekly blocks based on individual seed packet directions. Fast crops like squash need only three to four weeks indoors, while slow nightshades require eight to ten weeks. Starting too early produces root-bound plants that stall when transplanted.
Do I need a heat mat to germinate seeds successfully indoors?
You don’t strictly need an electric heat mat, but using one speeds up germination considerably for warm-season vegetables. Seedling heat mats warm the soil mix 10 to 15 degrees above room temperature, creating the ideal environment for peppers, tomatoes, and eggplants. Cool-season crops like kale or lettuce sprout easily at normal room temperatures. Placing trays atop a warm refrigerator serves as another thrifty alternative when exploring seed starting for beginners.