
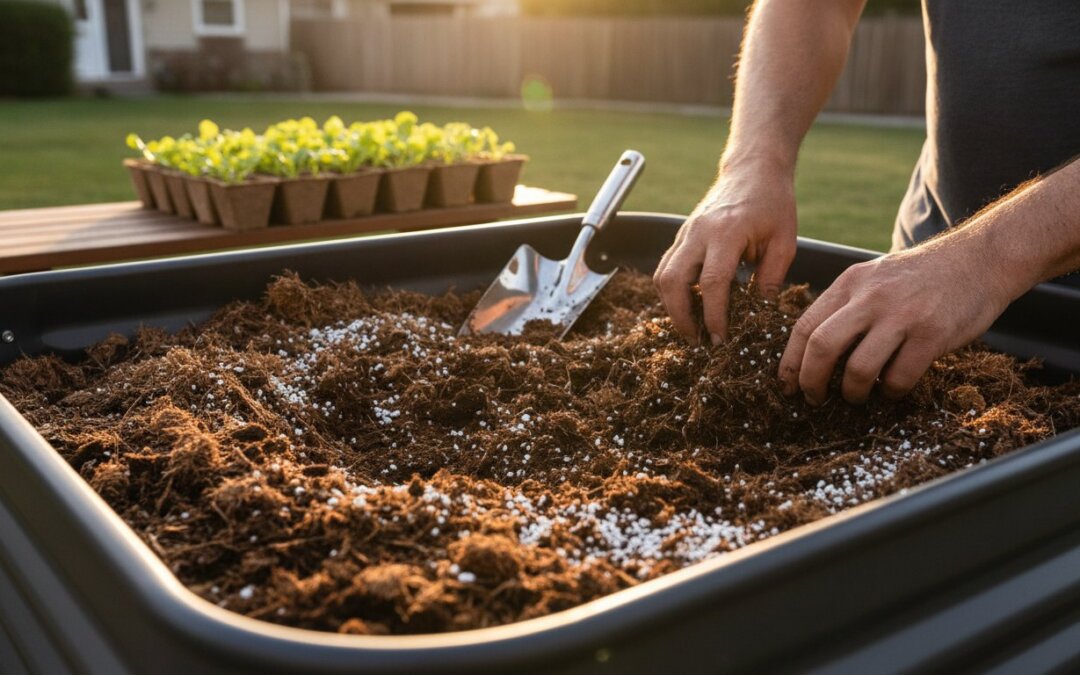
The perfect garden soil isn’t something you can simply pull off a retail shelf in a heavy plastic bag. In fact, many expensive “potting mixes” are little more than overpriced peat moss that leaves your vegetables hungry by mid-summer. If you want a garden that truly thrives, the secret lies in creating your own diy raised bed soil mix. It might feel intimidating to play chemist in your backyard, but it is actually the most empowering thing you can do for your plants and your wallet.
I know how it feels to stand in the garden center aisle, staring at dozens of options while a knot of confusion grows in your stomach. You want to give your seedlings the best start, but the cost of filling large beds can be staggering. It’s frustrating when you aren’t sure if the dirt you’re buying is actually high quality or just a mix of fillers and low-grade mulch that will compact in a few months.
You deserve a garden that grows with ease. I’m sharing my foolproof organic recipe that balances aeration, moisture, and life-giving nutrients. We’ll break down the exact ratios for your beds, which amendments actually matter, and how to use a soil calculator to ensure you never waste a penny on extra dirt again.
Key Takeaways
- Mixing your own soil isn’t just about saving money; it’s about knowing exactly what’s feeding your family and your plants.
- The simple 1:1:1 ratio is the gold standard for a diy raised bed soil mix because it perfectly balances drainage with the organic nutrients your vegetables crave.
- Always use a soil calculator before you shop so you don’t end up with a mountain of extra ingredients or an unfinished garden bed.
- Sourcing high-quality compost in bulk from local suppliers can slash your setup costs compared to buying individual bags at the store.
- You don’t need to dig or replace your soil every year; a simple “no-till” top-off of fresh compost is all it takes to keep your garden thriving.
Why DIY Raised Bed Soil Mix Beats Store-Bought Bags
We’ve all stood in the garden center, staring at those stacks of colorful plastic bags. It looks so simple, doesn’t it? Just grab a few, dump them in, and start planting. But after a few seasons of trial and error, I’ve learned that a true diy raised bed soil mix is far superior to anything you’ll find in a pre-sealed bag. A DIY mix is a custom-blended medium that you’ve optimized for the exact drainage and nutrition your specific garden needs. It isn’t just dirt; it’s a living foundation for your food.
When you look at the price tags, remember you’re paying for convenience, plastic packaging, and heavy shipping costs. The cost-per-cubic-foot of a DIY mix is a fraction of the price of premium bagged options, especially when you source your components in bulk. To make this even easier, using a tool like the Michelle In The Meadow soil calculator for raised beds is the essential first step to ensure you buy exactly what you need without overspending. More importantly, you’re eliminating the “mystery ingredients” that often hide in commercial dirt. Many companies use fillers that look like soil but don’t actually provide any long-term value to your plants. By mixing your own, you have total control over every organic input that goes into your garden.
The Problem with “Cheap” Bagged Soil
Those bargain bags are tempting when you have a large bed to fill. However, they often contain heavy wood fillers and low-quality peat that compacts into a hard brick after a few waterings. When soil doesn’t breathe, roots suffocate. You might save a few dollars today, but you’ll likely spend much more later on fertilizers and soil conditioners just to keep your stunted peppers alive. This is the hidden tax of poor soil. It leads to drainage issues that invite root rot, making your gardening journey much harder than it needs to be. Cheap soil often lacks:
- Proper Aeration: Cheap mixes settle quickly, crushing delicate roots and preventing oxygen from reaching the soil microbiome.
- Nutrient Density: Fillers like un-composted wood chips actually steal nitrogen from your plants as they struggle to break down.
- Microbial Life: Bagged soil is often sterilized or “dead,” missing the beneficial fungi and bacteria your garden needs to thrive naturally.
Customizing for Your Crops
The real magic of a diy raised bed soil mix happens when you take the reins. Do you want to grow thirsty melons or drought-tolerant Mediterranean herbs? Building your own mix lets you adjust the ratios to suit your specific climate and crops perfectly. It’s about long-term sustainability, too. When you start with high-quality organic inputs, you’re building a foundation that lasts for years. I promise, you can do this. It isn’t nearly as complicated as it sounds once you have the right recipe in hand. You’ll feel a sense of pride knowing exactly what is feeding your family’s dinner.
The Ultimate Organic Raised Bed Soil Recipe: The 1:1:1 Rule
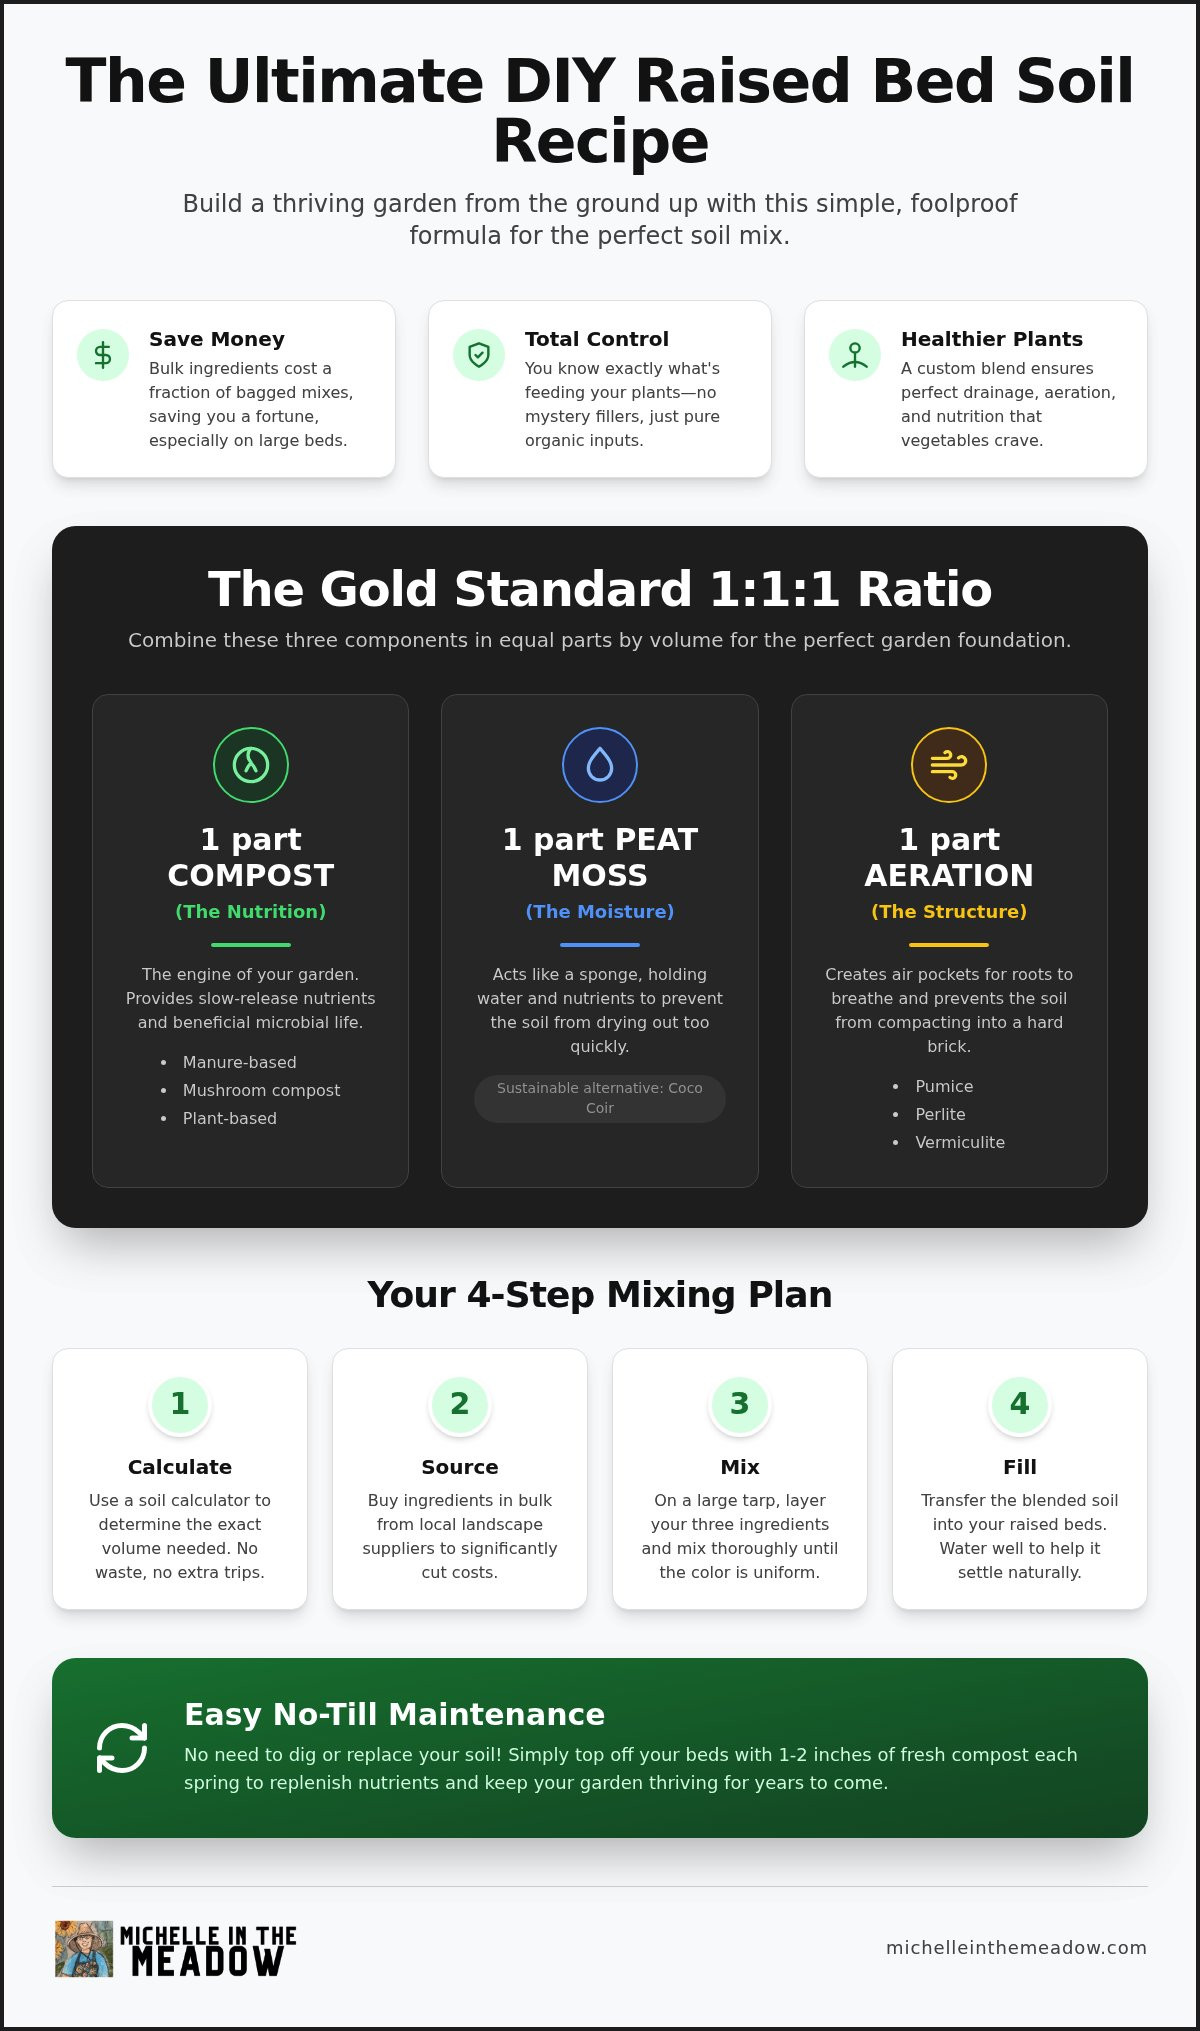
Finding the right balance for your garden doesn’t require a degree in soil science. The gold standard for a successful diy raised bed soil mix is the 1:1:1 ratio. This simple formula ensures your plants have exactly what they need: consistent nutrition, reliable moisture, and plenty of room to breathe. It’s a tried and true method that has helped thousands of gardeners move away from the frustration of hard, unproductive dirt.
This approach has been a staple in the organic gardening community for decades because it works so consistently across different climates. The beauty of this specific blend is its longevity. Because it’s so well-balanced, it never needs to be tilled or turned. You’re building a permanent soil structure that actually improves over time. Once you set this foundation, you’ll simply add a little fresh compost to the top each season and let nature do the rest of the work for you.
Ingredient 1: High-Quality Compost (The Nutrition)
Compost is the engine that drives your garden’s success. It provides the essential biology and slow-release nutrients that vegetables need to produce a heavy harvest. I always recommend using a blend of different compost types rather than just one. This diversity introduces a wider range of beneficial microbes to your diy raised bed soil mix, creating a more resilient environment for your plants’ roots. Consider a mix of these common types:
- Manure-based compost: Provides a rich nitrogen boost for leafy growth.
- Mushroom compost: Excellent for moisture retention and mineral content.
- Plant-based compost: Adds diverse organic matter and improves soil structure.
Ingredient 2: Peat Moss or Coconut Coir (The Moisture)
Raised beds can dry out quickly, especially in the heat of summer. That’s where peat moss or coconut coir comes in. These ingredients act like a sponge, holding onto water so your plants don’t wilt the moment the sun comes out. Peat moss is the traditional choice, while coconut coir is a popular, renewable alternative made from coconut husks. Both options do an incredible job of keeping the soil light and fluffy, which is exactly what you want for healthy root expansion.
Ingredient 3: Vermiculite or Perlite (The Aeration)
Roots need air just as much as they need water. Aeration creates tiny air pockets in the soil, preventing it from compacting into a solid block. Vermiculite is my preferred choice for most vegetable gardens because it helps with moisture retention while providing aeration. Perlite, those little white bits that look like Styrofoam, is excellent if you need very fast drainage. Including one of these ensures your soil stays friable for years to come. If you’re ready to start, you can find the right balance for your garden by checking our recommended supply lists.
Sourcing and Preparing Your Ingredients
Gathering the components for your diy raised bed soil mix can feel like a bit of a scavenger hunt. It’s the phase where many gardeners feel overwhelmed, but I promise it’s simpler than it looks. One trick that will save you hours of frustration is pre-wetting your peat moss or coconut coir. These materials are naturally hydrophobic when dry, meaning they actually repel water at first. If you dump them into your beds bone-dry, you’ll spend weeks struggling to get moisture to reach your plants’ roots. Mix your base material with water in a wheelbarrow until it feels like a wrung-out sponge before you add it to the rest of the blend.
Before you head to the store, take a walk around your own property. You might already have “black gold” waiting for you. Shopping your own yard is the best way to keep costs down while adding local biology to your garden. Check your yard for these valuable additions:
- Finished backyard compost: Even a few buckets of your own kitchen scrap compost adds vital local microbes.
- Shredded leaf mold: Old, partially decomposed leaves are incredible for soil structure.
- Aged wood chips: If you have a pile from a local tree service, use the smallest, most decomposed bits for added organic matter.
Buying in Bulk vs. Bags
If you’re filling several large containers, such as the Birdies Raised Beds I use in my own garden, buying individual bags will quickly drain your bank account. Ordering a truckload of compost or a “gardeners mix” from a local soil yard is usually much cheaper once you get past a certain volume. I always suggest using the Michelle In The Meadow Soil Calculator as your very first step. It tells you exactly how many cubic yards you need so you don’t over-order. A great pro-tip is to check with your neighbors to see if they need soil too. Splitting a single large delivery fee between three houses can save everyone a significant amount of money.
Organic Certification and Safety
When you are shopping for your diy raised bed soil mix, keep a close eye on the labels. Look for the “OMRI Listed” seal on every bag you buy. This certification from the Organic Materials Review Institute ensures the ingredients are safe for growing food and free from synthetic sludges. I strongly advise avoiding any products that mention “moisture control” crystals, as these are typically synthetic polymers. Also, be wary of “hot” manure. Fresh manure that hasn’t been aged for at least six months can actually burn your seedlings’ delicate roots and often carries a high load of weed seeds that will haunt your garden for years.
How to Mix and Fill Your Raised Beds Like a Pro
Once you’ve gathered your organic components, the real fun begins. But before you start dumping bags, you need a plan. The most common mistake I see is gardeners underestimating how much material they actually need. To avoid that mid-project panic, your very first step should be to calculate your total volume using our specialized tool. Knowing exactly how many cubic feet of diy raised bed soil mix you’re dealing with makes the physical labor much more manageable.
I usually recommend mixing your ingredients outside of the bed whenever possible. While it’s tempting to layer everything directly into the container, a thorough pre-mix ensures that the nutrition from your compost is evenly distributed. You don’t want “hot spots” of manure or dry pockets of peat moss. Use a large wheelbarrow for smaller projects; however, if you’re filling several large beds, it’s time to break out the heavy-duty tarp.
The Tarp Method for Easy Mixing
Mixing several yards of soil with a shovel is a recipe for a sore back. Instead, try the “burrito roll” technique. Pour your ingredients in a large pile in the center of a heavy tarp. Have a friend or family member grab two corners while you grab the other two. Together, pull the tarp toward one side so the soil rolls over on itself, then pull it back the other way. It’s a fantastic workout and much more efficient than traditional digging. It turns a chore into a shared garden memory, and you’ll have a perfectly blended diy raised bed soil mix in half the time.
Using the Hugelkultur Method to Save Money
If you are using deep containers like Birdies Raised Beds, you don’t necessarily need to fill the entire depth with your premium soil mix. This is where the Hugelkultur method becomes a lifesaver for your budget. By placing large logs, sticks, and dried leaves at the bottom 40 to 50 percent of the bed, you significantly reduce the amount of soil you need to buy. As that wood slowly decays over several years, it releases nutrients and creates a sponge-like reservoir of moisture for deep-reaching roots. You can easily save a significant amount on soil for a single large bed using this organic filler strategy.
As you add your soil on top of your base layer, remember to water each 6-inch lift. This prevents dry pockets from forming deep underground. Once the bed is full, give it a final deep soak and let it settle for two or three days. You’ll notice the level drops slightly as air pockets collapse; top it off one last time, and you’re ready to plant.
Maintaining Your DIY Soil for Years of Harvests
One of the biggest myths in the gardening world is that you need to replace your potting soil every single year. That’s not only exhausting but also incredibly wasteful. When you’ve invested the time to build a high-quality diy raised bed soil mix, you’ve created a living ecosystem. You don’t throw away a forest floor; you let it build upon itself. I’ve found that my beds actually get better as they age because the microbial life becomes more established over time.
Adopting a no-till philosophy is the best way to preserve that hard-won soil structure. Every time you dig or turn the soil, you disrupt the delicate fungal networks and beneficial bacteria that help your plants absorb nutrients. Instead of digging, we simply feed the soil from the top. By adding 1 to 2 inches of fresh, high-quality compost every season, you’re mimicking the natural cycle of decomposition. This healthy soil foundation is your first line of defense against pests and disease. Robust plants grown in nutrient-dense soil are far less attractive to aphids and beetles.
Recharging the Nutrients
It’s helpful to remember that your plants are literally eating the organic matter in your beds. Over a growing season, the compost breaks down further, and the volume of your diy raised bed soil mix will naturally decrease. If you notice your plants are looking a bit pale or yellowing despite regular watering, they might need a quick boost. A gentle, liquid organic fertilizer can bridge the gap while your new layer of compost settles in. I also swear by a thick layer of mulch, like straw or shredded leaves, to protect the soil surface from the sun and prevent moisture from evaporating too quickly.
Using the Soil Calculator for Maintenance
To figure out exactly how much top-off material you need, you first have to measure the settle in your beds. At the end of the season, take a ruler and measure the distance from the top rim of your bed down to the soil surface. Subtract that from your original fill level. Usually, you’ll find you need a fresh inch or two to bring the beds back to peak performance. This is where precision helps you stay on budget. You can Check out our Soil Calculator for Raised Beds to plan your next season and ensure you order just the right amount of compost without any waste.
Start Your Most Productive Season Yet
Building your own foundation is the single most important step you can take toward a thriving, earth-friendly garden. By choosing a diy raised bed soil mix over expensive, mystery-filled bags, you aren’t just saving money; you’re taking full control of what feeds your family. We’ve covered the simple 1:1:1 ratio and the low-maintenance secrets that will keep your beds productive for years without the back-breaking work of tilling or replacing dirt every spring.
I’ve seen thousands of home gardeners transform their backyards using these exact organic methods. It’s about working with nature instead of against it. When you’re ready to get started, you can plan your garden perfectly with our Soil Calculator for Raised Beds! It’s the same tool I use to save up to 50% compared to bagged soil while ensuring my beds are optimized for high-yield organic vegetables. You don’t need a green thumb or decades of experience to succeed. All you need is the right start, a little patience, and the confidence to get your hands in the dirt. I can’t wait to see what you grow.
Common Questions About Raised Bed Soil
Can I use regular garden soil in my raised beds?
You should avoid using straight garden soil in your raised beds because it is usually too dense and lacks the drainage needed for containerized plants. Ground soil often compacts tightly; this suffocates roots and prevents water from reaching the bottom. It also frequently contains weed seeds and soil-borne diseases that you don’t want to introduce into your clean environment. Stick to a lighter diy raised bed soil mix to ensure your vegetables have the oxygen they need to thrive.
How much soil do I need for a 4×8 raised bed?
For a standard 4×8 bed that is 12 inches deep, you will need approximately 32 cubic feet of soil. However, depths can vary significantly between different modular kits. If you are using a taller bed, the volume increases quickly. I always recommend using our soil calculator for raised beds before you buy your ingredients. It takes the guesswork out of the process and ensures you don’t overspend on extra materials you don’t actually need.
Is peat moss or coconut coir better for the environment?
Coconut coir is generally considered the more sustainable choice because it is a renewable byproduct of the coconut industry. Peat moss is harvested from ancient peat bogs that take thousands of years to form and store massive amounts of carbon. While both materials provide excellent moisture retention for your diy raised bed soil mix, many earth-friendly gardeners are switching to coir to reduce their environmental footprint while keeping their soil light and fluffy.
Do I need to add fertilizer if I use 1/3 compost?
You usually don’t need to add synthetic fertilizers when using a mix that is one-third high-quality compost. Compost is a slow-release engine that provides a wide spectrum of nutrients and beneficial microbes. However, very hungry plants like tomatoes or pumpkins might appreciate a light organic boost mid-season. Always watch your plants for signs of hunger, such as yellowing lower leaves, before reaching for any additional amendments. Your soil’s biology often does the heavy lifting.
What is the cheapest way to fill the bottom of a tall raised bed?
The most cost-effective way to fill a deep bed is the Hugelkultur method. You can fill the bottom half of a tall bed with logs, branches, and dried leaves found right in your own backyard. These organic materials take years to break down, slowly releasing nutrients while acting like a sponge for moisture. This strategy allows you to save money by using less premium soil mix while building a long-term foundation of fertility for your garden.
Can I mix the soil directly inside the raised bed?
You can certainly mix your soil directly inside the bed, though it requires a bit more physical effort to ensure an even blend. If you choose this route, add your ingredients in thin, alternating layers and use a garden fork to turn them thoroughly. I prefer the tarp method for larger volumes because it is easier to see if the compost and aeration components are fully integrated. A consistent diy raised bed soil mix prevents pockets of heavy material that could hinder root growth.
How often do I need to replace my raised bed soil?
You never need to replace your soil if you follow organic maintenance practices. Unlike bagged potting soils that “die” after a season, a custom-blended mix becomes a permanent living ecosystem. Instead of hauling out old dirt, you simply top off the bed with an inch or two of fresh compost every spring. This replenishes the nutrients your plants consumed and keeps the soil level consistent without the expense or waste of starting over from scratch.
Is vermiculite safe for organic vegetable gardening?
Horticultural vermiculite is perfectly safe and a staple in organic gardening. It is a naturally occurring mineral that is heated until it expands, creating a lightweight material that excels at holding both water and nutrients. When shopping for your ingredients, just make sure the bag is labeled as “horticultural grade” and ideally carries the OMRI seal. This ensures it is free from contaminants and safe for growing the vegetables you’ll be feeding to your family.
